Next Generation Editing
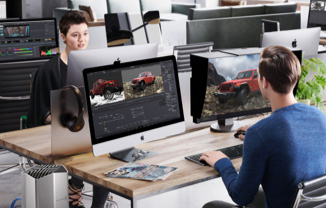
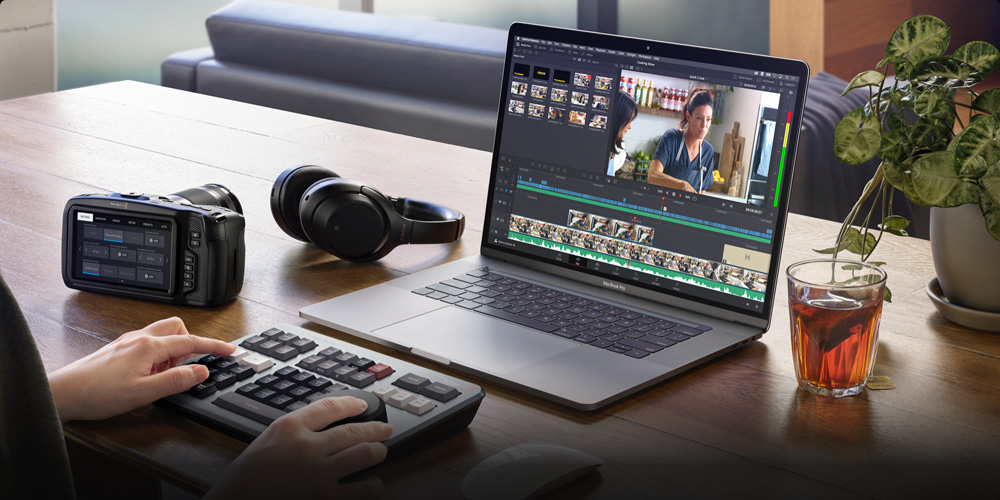
Introducing the revolution in editing! The new cut page has many new innovations that make editing much faster than before. That's critical when editing long form episodic television programming, documentaries and corporate videos or fast turn music videos and television commercials. Of course you can always switch to the edit page if you want traditional editing features, as the edit and cut pages work seamlessly together! The cut page has also been co-designed to work with a hardware panel such as the DaVinci Resolve Speed Editor. This means you get an editing solution that’s not "dumbed down", as it's a true professional editor that’s focused on introducing new innovations in speed!
Designed for Speed
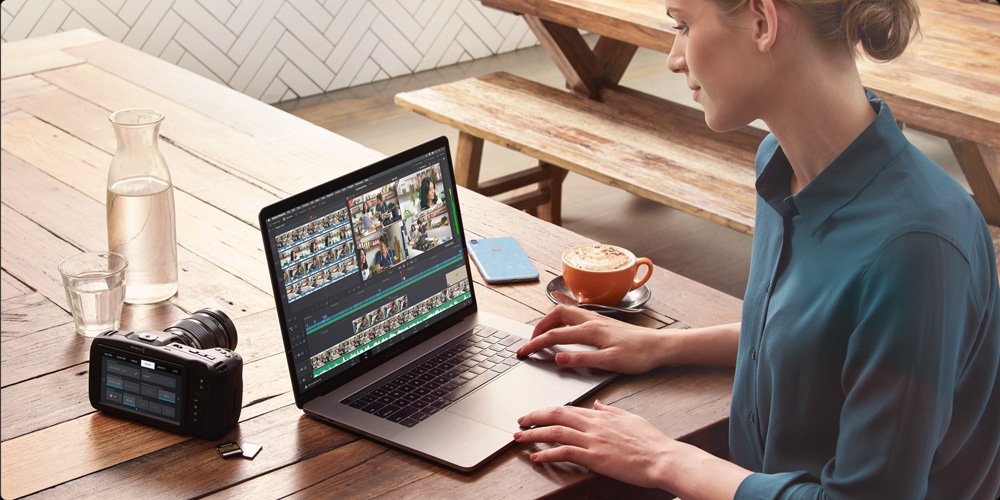
With a second page for editing, DaVinci Resolve is free to introduce new innovations to edit faster than using traditional edit software. The cut page can sometimes confuse experienced editors as it's a little different! However you can simply switch between cut and edit pages to use any combination of edit tools! In the cut page everything is live with only a single click to complete each task. The source tape lets you visually scroll all your clips at once to eliminate wasting time with media management. The sync bin allows non real time multi-cam so you can edit in higher resolutions! The cut page even supports small monitors! This means you spend more time shooting and less time editing!

Faster Editing
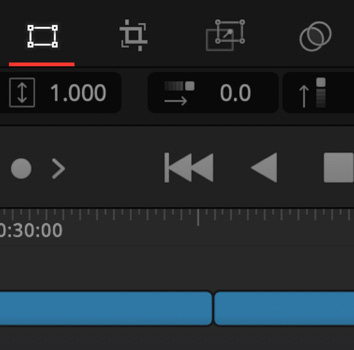
One Click Actions
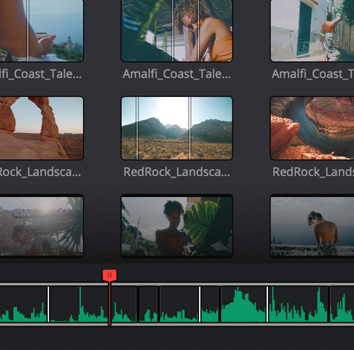
Source Tape
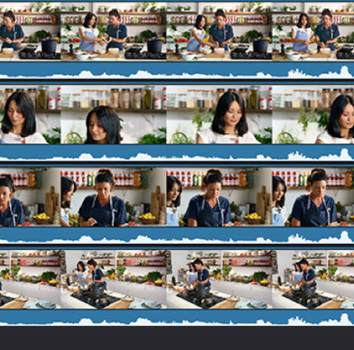
Multicam Editing
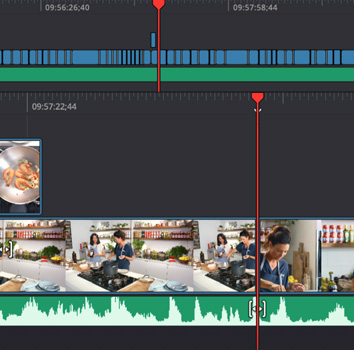
Small Monitors
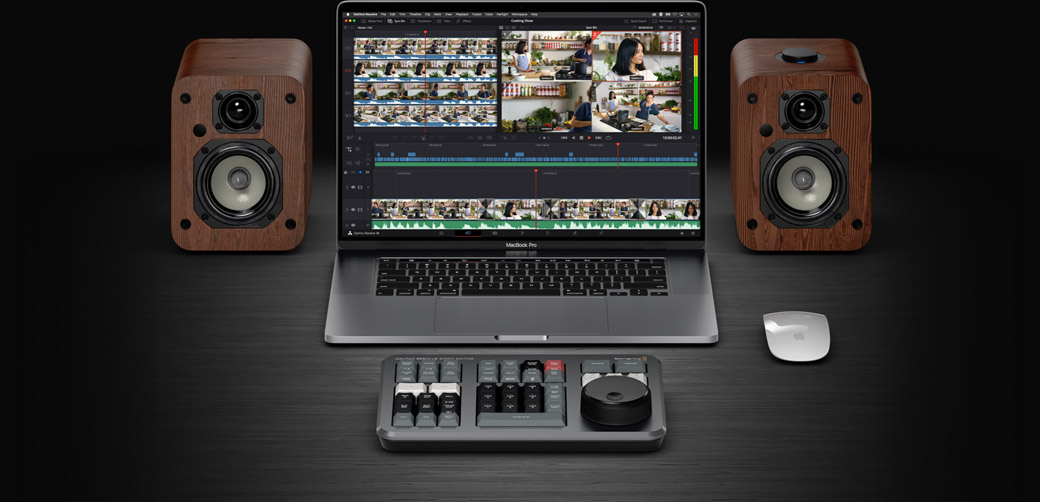
Hardware and Software Combined!
Traditional edit software might look familiar, however it hasn't changed much in 30 years! Traditional software is designed for a computer mouse, so won't support hardware panels well. The dual timeline is perfect for a dedicated hardware controller and the search dial allows fast scrolling for editing and trimming. You see the whole timeline and edit point simultaneously! Plus there's no annoying horizontal and vertical scroll bars! The single viewer with source tape eliminates clicking thousands of clips to select shots. Even trimming is live and uses the search dial for amazing speed and accuracy. Plus all edits are intelligent, so most of the time you don't need in or out points!
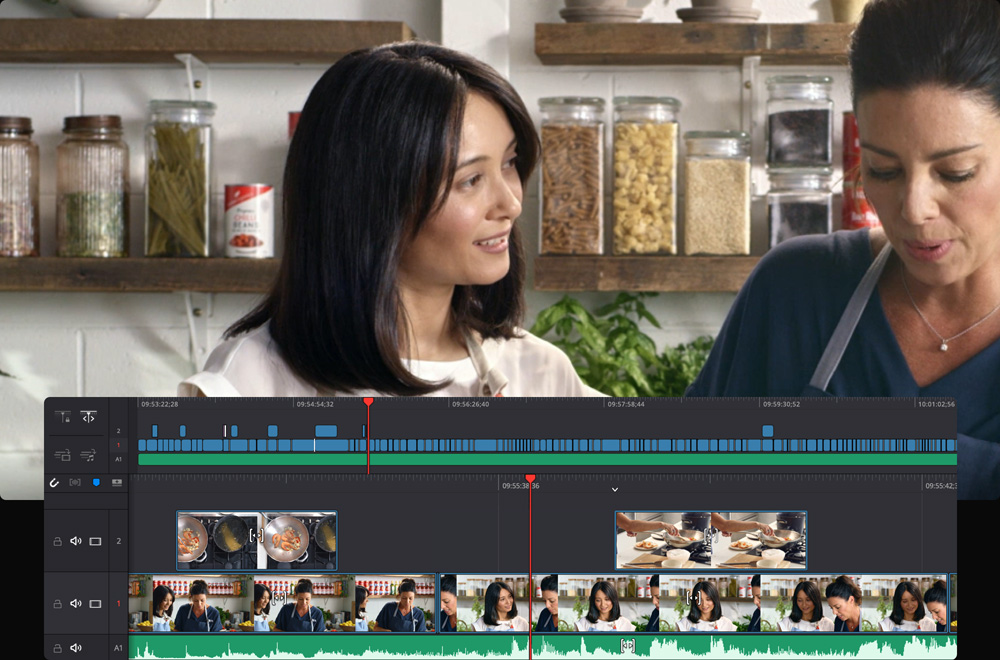
Dual Timelines
Zooming in and out of edit timelines is very slow! The dual timeline means you never have to zoom again! The upper timeline shows you the entire program while the lower timeline shows you a zoomed in area of where you're working. This means the lower timeline is always zoomed to the perfect amount so the trim tools work perfectly. Both timelines are fully functional, allowing you to move and trim clips in whichever timeline is most convenient. Simply drag between timelines to move a clip anywhere in your edit. Only the dual timeline lets you see both your edit as well as the whole timeline at the same time!
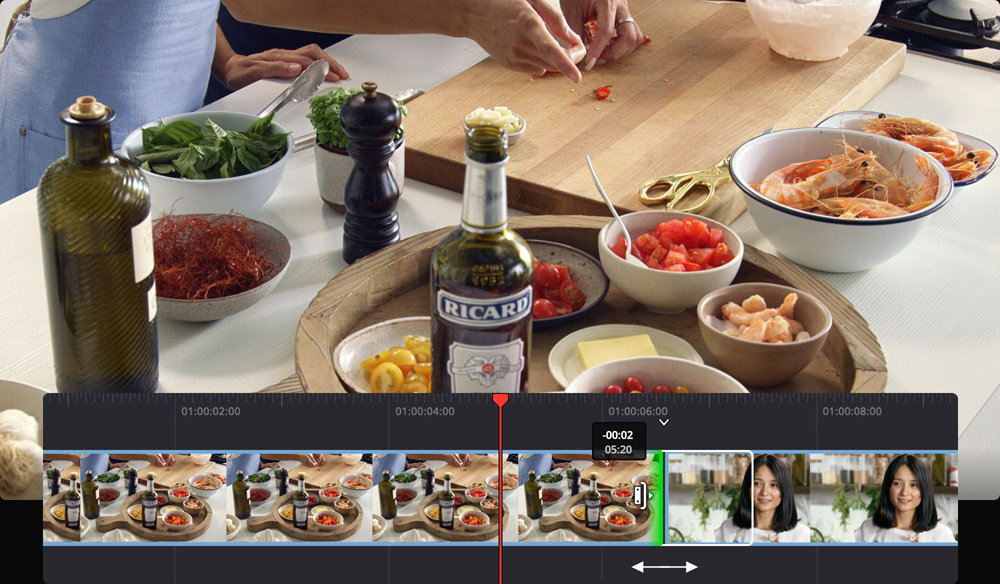
Automatic Trim Tools
Trimming is incredibly fast because trim tools are selected automatically! Simply move the mouse around the edit point and each trim tool will be selected based on the mouse position. The mouse icon will change so you know what trim tool has been selected. When you start trimming, a trim editor will appear in the viewer so you can trim with greater accuracy. In the trim editor, the clips are laid out in a film strip with each frame visible, so frame accurate edits are simple and fast. That means there are 3 places you can trim, the upper timeline, the lower timeline and the trim editor! All edit modes are supported, including trim in and out, roll edit, transition duration, slip and slide.
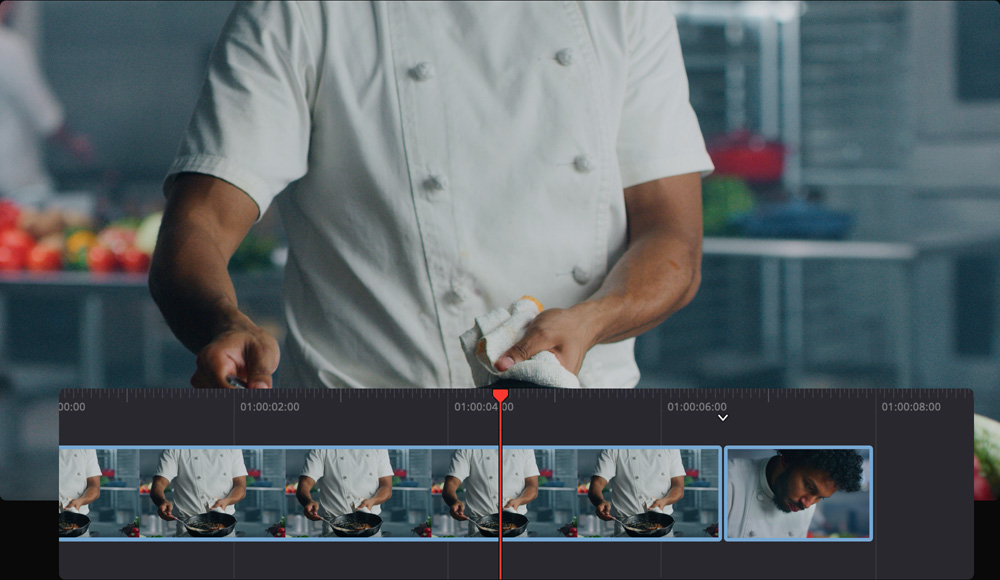
Intelligent Editing
The cut page features the "smart indicator" that points to where edits will be performed, which also means most of the time you don't need to waste time placing in or out points on the timeline. This allows you to work faster as the smart indicator will move from edit to edit as you scroll the timeline. For example to insert a clip, simply select the portion you want in the viewer and then click the smart insert button on the toolbar. The clip is added at the nearest edit point and the timeline will ripple! Most edit modes work without in or out points so it’s faster to insert or append clips, create close‑ups, add synchronized cutaways from b‑roll and more.
Smart Insert
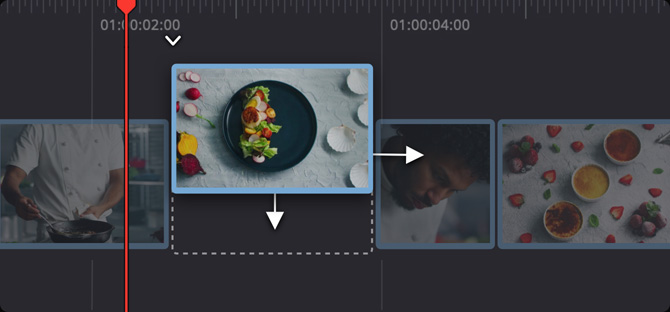
Inserts a clip at the edit point located nearest the playhead and pushes everything else down the timeline to make room for it. Select a new source clip from the media pool, set in and out points, then click the smart insert button on the toolbar!
Append at End
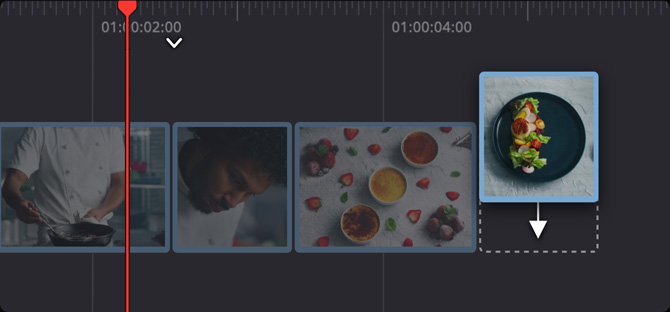
Append at end lets you add a clip or group of clips to the end of a timeline, regardless of the location of the playhead! Just choose the clips you want and then click the append at end button on the toolbar to add them to the end of your timeline.
Place On Top
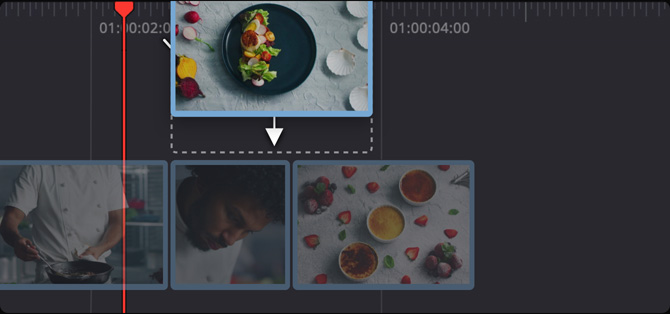
Place on top adds a new clip to the next upper track in the timeline. When you select a clip in the media pool and use the place on top command, the new clip will be added above the current track on your timeline at current timeline scroll position.
Close Up
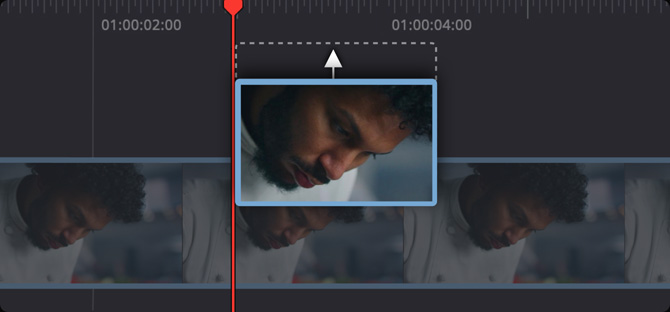
The close up command uses AI and machine learning in the DaVinci Neural Engine to automatically find faces in a shot and zoom into them. This lets you quickly cut in and add close up shots without having to manually zoom in and reframe the shot!
Ripple Overwrite
Ripple overwrite replaces a clip on the timeline with a new clip, even if the new clip is a different length. If the new clip is a different duration, the timeline will be rippled longer or shorter to make space for the new clip.
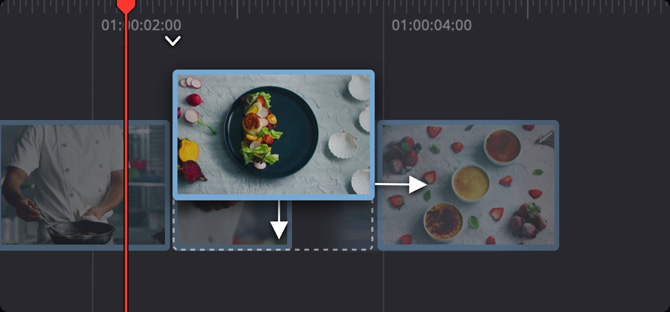
Source Overwrite
Source overwrite is the fastest way to make synchronized cut aways from different camera angles! Set an in and out point on the cutaway you want, then source overwrite will add the clip on the track above, perfectly synchronized to the layer below.
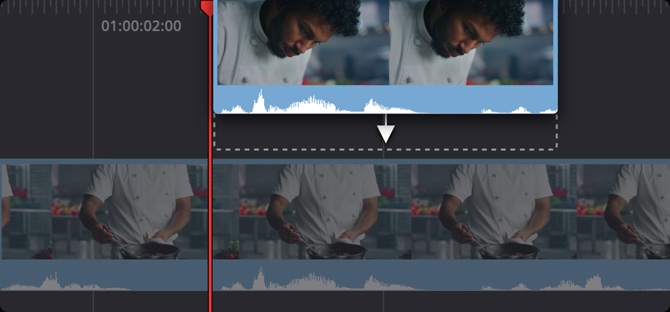
Source Tape
Finding a clip in a bin with thousands of files can be slow and frustrating! With source tape, you no longer have to waste time hunting through bins to find the clip you need. Simply click on the source tape button and all of the clips in your bin appear in the viewer as a single long "tape". This makes it easy to scroll through all of your media because you’re doing it visually! Simply scroll your media, find a shot you like, then edit it into the timeline! Plus it won't switch to the timeline after an edit, so you can keep scrolling the source tape and adding shots you like to the timeline. If you're working with unknown media then the fast preview lets you fast play the whole source tape.
Professional Trimming
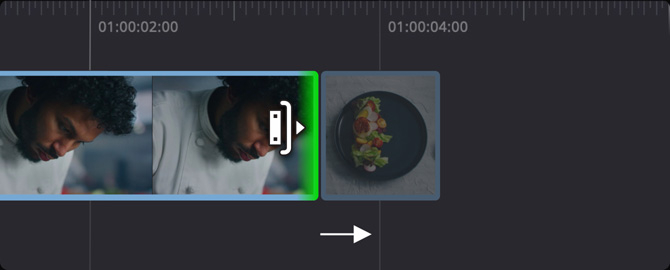
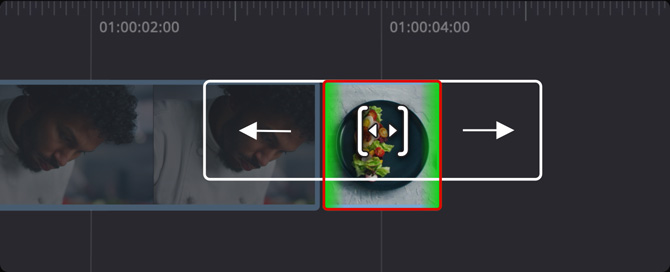
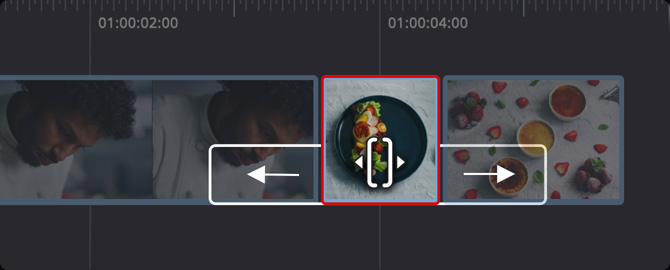
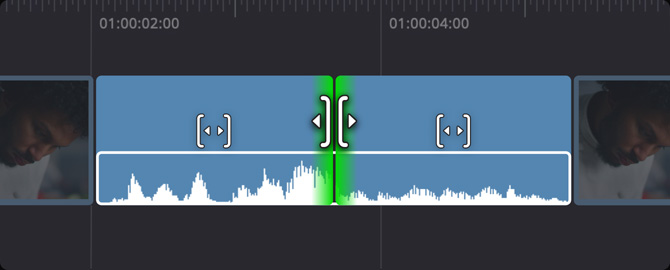
DaVinci Resolve has a range of trim tools for fine tuning your edit to make it perfect. To trim in or out, simply drag to the left or right of the transition point and move the ends of the clips! Trimming the in or out point will also ripple the timeline duration automatically. If you want to slip a clip in the space it has in the timeline, then just click the slip icon located at each clip’s mid point. To roll and edit point, just click in the middle of the transition and slide it forward and back. You also get an A/B trimmer in the viewer once you start trimming. Plus when trimming, the clip audio will automatically zoom in so you can position your edit perfectly against dialog or music.

Roll
A rolling trim works on both the left and right sides of an edit at the same time. While one side of the edit is shortened, the other side will be extended by the same number of frames. That means the overall length of your timeline remains the same.
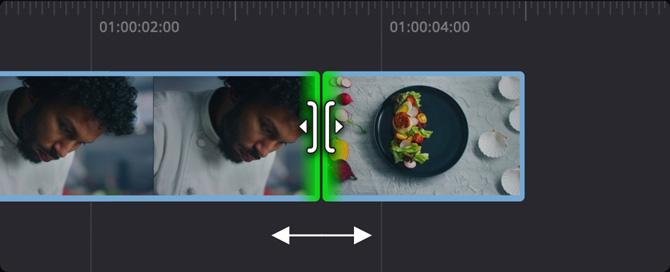
Trim
To trim in or trim out, simply drag on either side of the edit point, and the source or destination clips can be trimmed and you can see the effect on the edit instantly. Trimming the clips will automatically ripple the timeline duration.
Slip
Slipping changes the portion of a clip that you see in the timeline. The space for the clip stays the same, but the clip moves up and down. A white outline shows the full source clip duration, so you can see the clip’s handles as you adjust it.
Slide
Duration
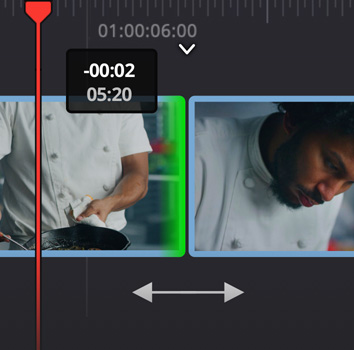
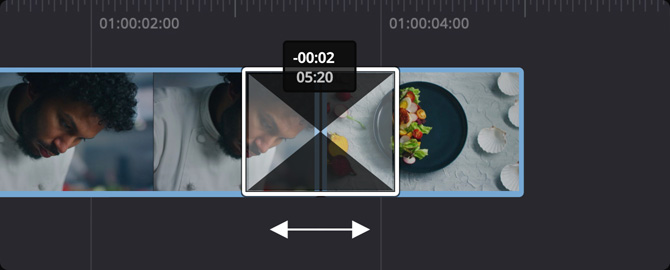
If you need to adjust the duration of a transition such as a dissolve or wipe, then you can click the edge of the transition icon at the edit point. Now you can drag the duration length directly. A tool top will show a numerical duration time value.
Trimming with Audio
Clicking the new audio trim icon on the left side of the upper timeline will allow you to see a magnified view of the audio waveform while you are trimming. You can see waveforms and trim audio in the lower timeline and in the graphical A/B trimmer.
Viewer Trimming
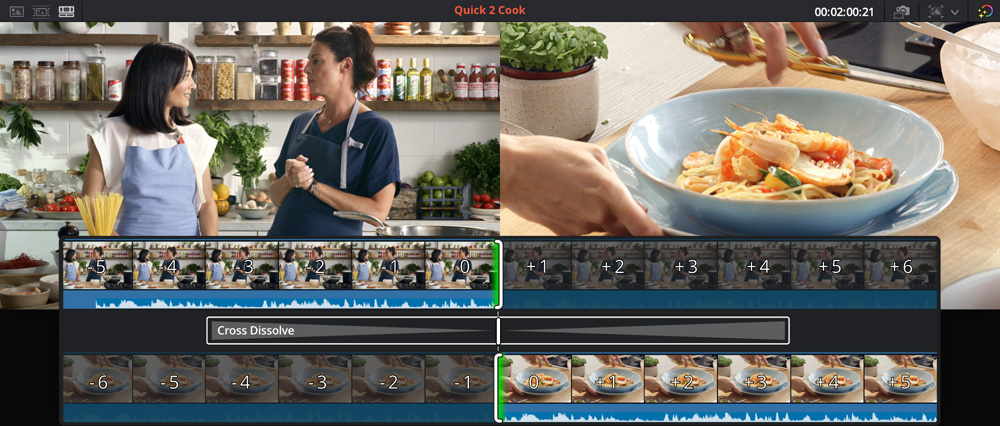
The cut page features a large, graphical trimmer that lets you view and trim edit points with extreme accuracy. Also known as an A/B trimmer, this graphical view lets you see both clips in an edit at the same time. Double click any edit point to open the graphical trimmer in the viewer. The left clip is called the "A" clip and will be displayed on top, while the "B" clip on the right side is displayed below. You can see exactly where the trim point is and adjust each side with numeric frame counters and nudge tools. That means you can trim in 3 locations, the lower timeline, the upper timeline and the trim editor! When you’re done, click anywhere in the timeline to close the trim editor.
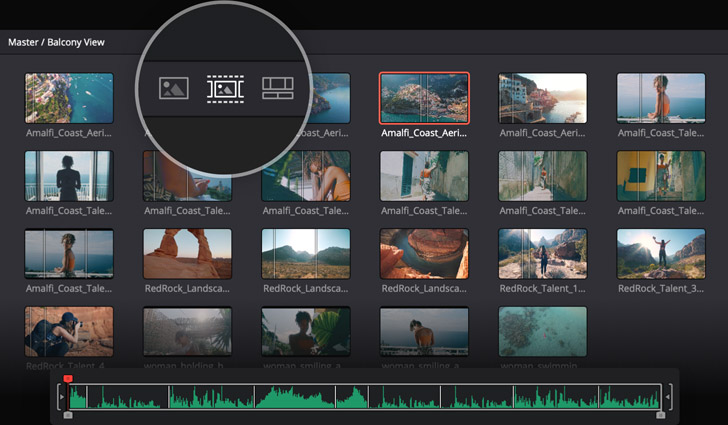
Sync Bin for Multicam Editing
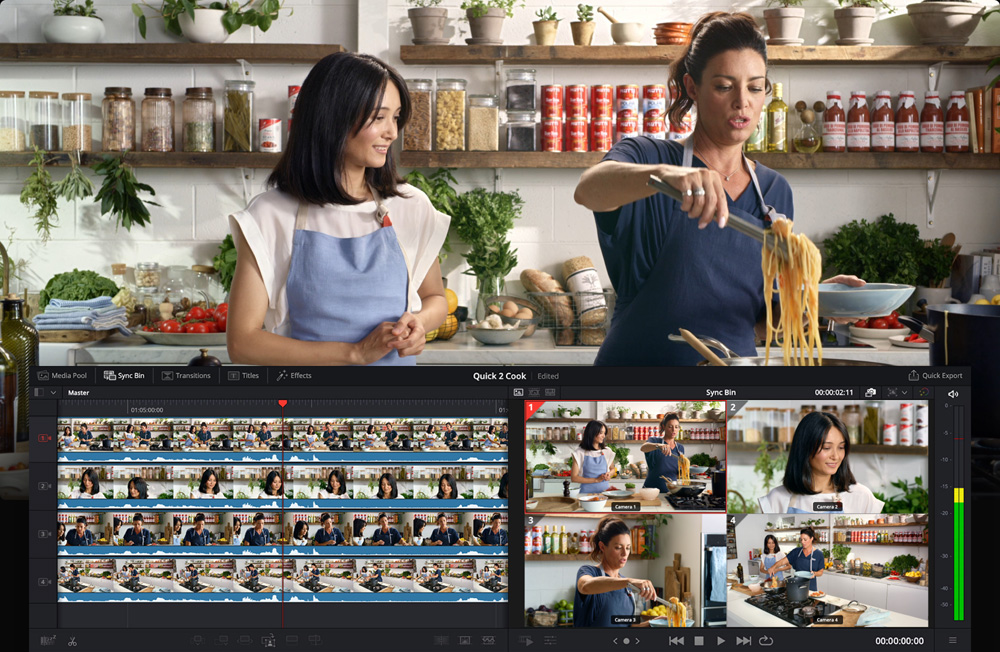
The sync bin is the world’s fastest and most innovative way to select the perfect cutaway when doing multi camera shoots. Using the sync bin is easy and it’s much better than a traditional multi-cam feature. Just select the sync clips icon and DaVinci will find all clips that sync to the timeline and display them in a multiview. Simply scroll up and down the timeline and you will see all the clips that sync to the point in the timeline so you can pick the best cutaway. Then click the view with the mouse and then adjust the in and out points to select the cutaway you want. Now use the source overwrite edit mode to add this selected clip to the timeline, perfectly synced to the clip below!
Clip Inspector
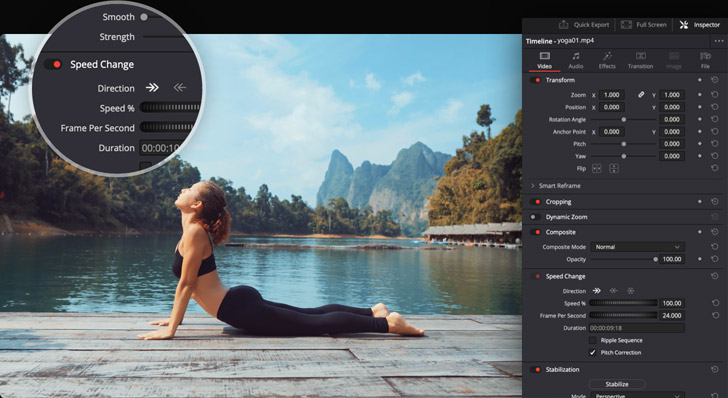
The inspector allows you to change audio and video settings, plus it includes keyframe buttons that let you animate over time. There are tabs at the top for video, sizing, audio, effects, file metadata and transition controls. The video tab lets you set blend modes, stabilize shots, correct lens distortion and more. In the sizing tab, you can reposition, crop and scale images. The audio tab lets you adjust sound levels, pan, pitch and EQ. The effects tab displays all of the options for effects you’ve applied and the file tab lets you edit and view clip metadata, as well as access RAW image controls.
Transform, Color, Audio and Text
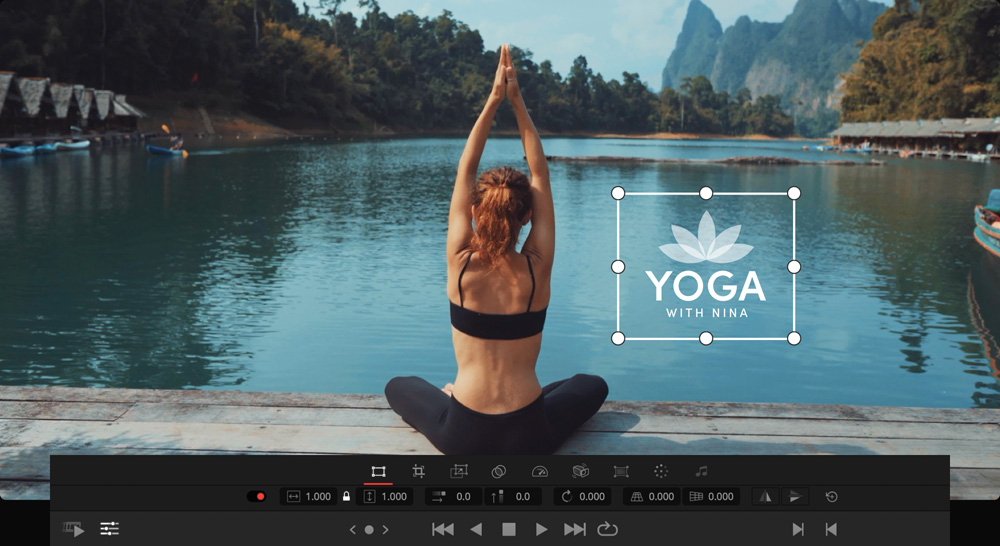
While the full inspector provides control over a wide range of settings and keyframe animation, the tool strip in the viewer is designed to give you faster access to more common settings and controls. It’s perfect when you need to make a quick adjustment! Click the tools icon at the bottom left of the viewer to display the consolidated tool strip under the image. You’ll see icons for transformation tools used to create picture in picture effects, cropping, audio level adjustments, speed changes, stabilization, lens correction, dynamic zoom and more. That means you’ll be able to quickly make basic adjustments without ever having to open the inspector or leave the cut page!
Transitions and Effects
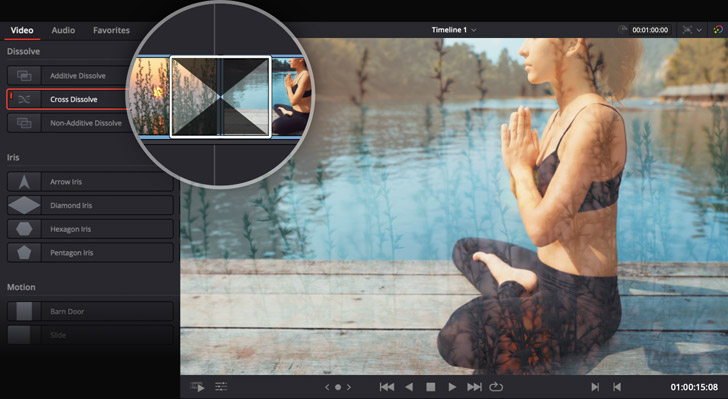
Instantly access and apply over 100 transitions, effects and title templates! Because DaVinci Resolve is used on high end Hollywood films, the effects are true simulations of lenses and the way light behaves. Transitions include dissolves, iris effects, motion and shape transitions, wipes and more. Effects are organized into categories such as blurs, color, lighting, stylize, warping, texture, and more. Any effect or transition can be previewed by hovering the mouse over the effect title and moving the cursor left to right. That lets you preview an effect applied to your clip before you use it! To add an effect or transition, simply drag it to a clip and adjust its settings in the inspector!
Stunning 2D and 3D Titles!
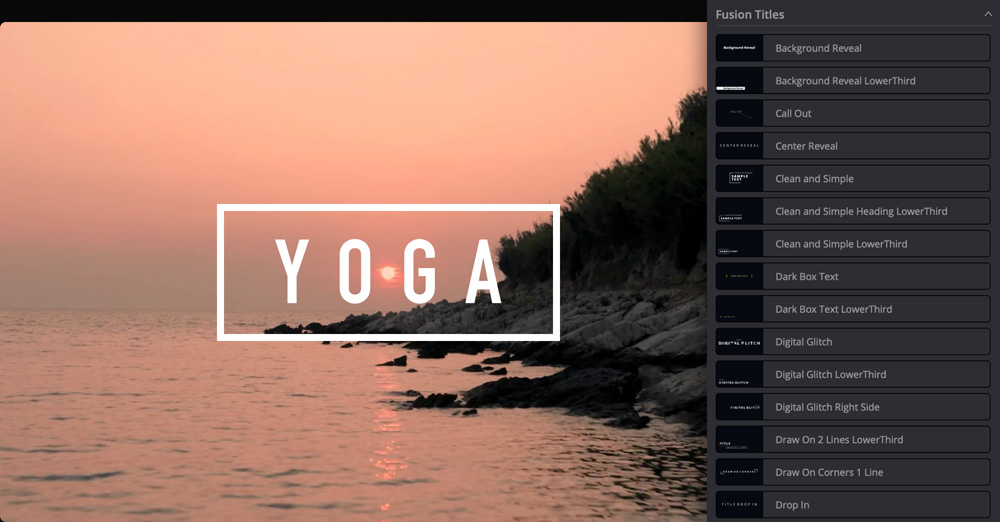
The cut page features title generators that let you build simple titles and lower thirds from scratch. Click on titles at the top left of the screen, select the type of title you want and drag it to the timeline. You can use the inspector to type your text and adjust parameters such as font, size, color and more. There are also dozens of professionally designed and animated Fusion title templates. You’ll see both 2D and 3D animated titles in the title library that you can hover over with the mouse to preview. Fusion title templates let you create cinematic titles without having to be a motion graphics expert! You can even download and install additional third party title templates.
Detect Boring Shots and Jump Cuts
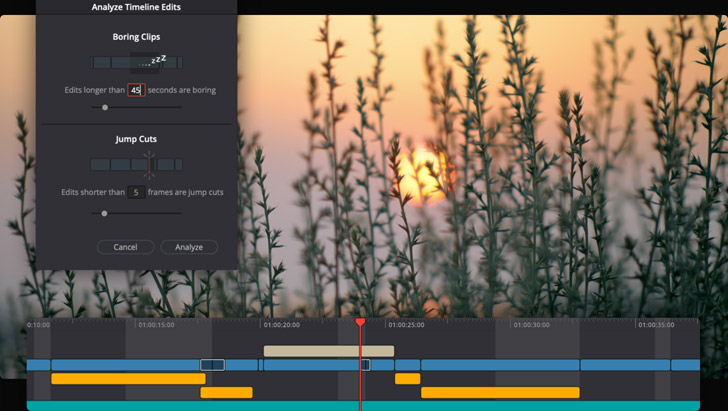
You could risk losing your audience if you hold a shot for too long! The boring detector automatically analyzes and highlights clips in the timeline that may be too long. It can also highlight quick jump cuts that may be distracting to viewers. To set up the boring detector, click on its icon on the left of the upper timeline. The top of the window lets you define the maximum length for shots before they are considered boring. The bottom lets you decide the minimum number of frames for jump cuts. When you click the analyze button, grey highlights appear on boring sections of the timeline and red highlights appear on jump cuts, making it easy to spot the sections you need to work on!
Works with Small Screens
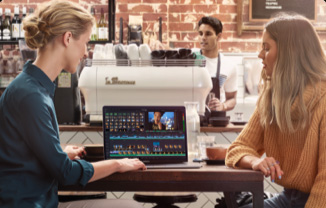
The new cut page is designed to work well on smaller laptop screens. The user interface automatically scales and reconfigures itself to give you the highest amount of usable space so you can edit quickly and get your program finished! When you move to a larger display the user interface scales up beautifully, giving you even more room to keep working. That means you won’t have to open and close windows or slide things around as you work. There are even menus for importing media and rendering finished edits so you can complete all work in the cut page and you don't need to use the other pages! Every feature on the cut page has been designed to save space and allow editing on smaller monitors.
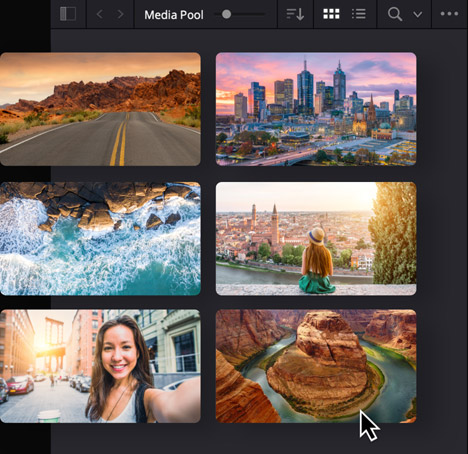
Import and Sort Media
The cut page works with virtually all native camera formats, so you don’t have to convert media files or create proxies before you start editing. The media pool at the top left of the screen features buttons to quickly import individual files or entire folders of clips. When you bring in a folder with subfolders, they’ll be imported with the same structure. You can click the buttons at the top of the media pool to switch between icon, filmstrip, a customizable list, or slate view. Each view can be sorted and the new slate view displays a thumbnail along with the most relevant clip information such as shot, scene, take, name, or timecode. Metadata can also be edited in the new inspector.
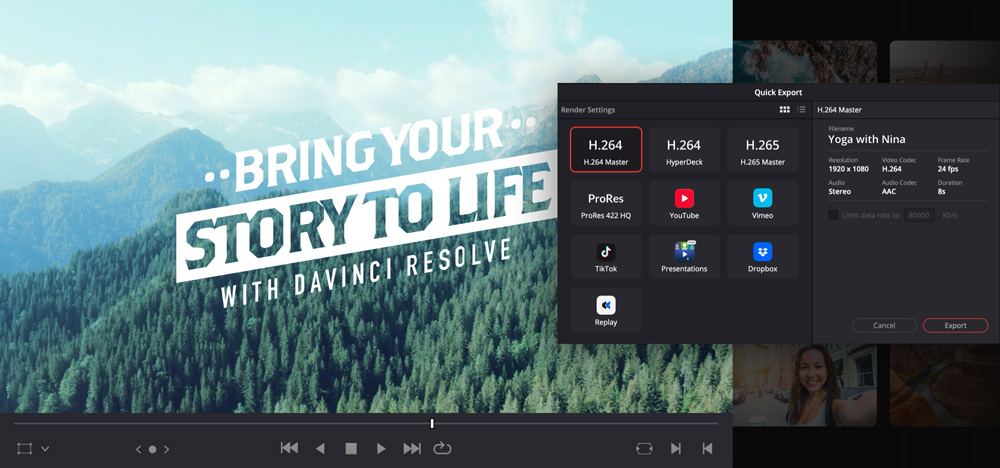
Quick Export
When you’re on a tight deadline you need to be able to deliver finished programs fast. The quick export tool lets you quickly render and upload your finished program to online services such as YouTube, Vimeo and more. To set it up, just login to the service you want from the DaVinci Resolve preferences menu. You’ll find presets for YouTube, Vimeo and TikTok, along with presets for creating ProRes masters and exporting H.264 or H.265 files. You can also create your own quick export presets for saving local files. Best of all, the quick export menu is now available on all DaVinci Resolve pages so you can instantly render out a finished edit without using the deliver page!
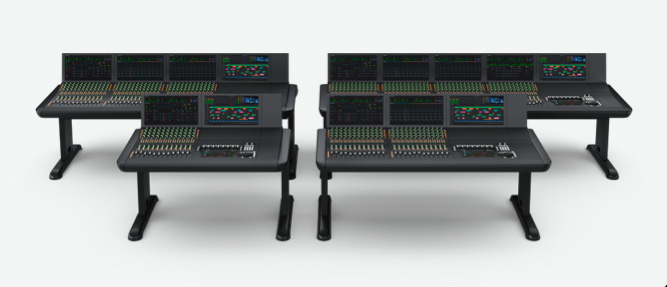
DaVinci Speed Editor and Editor Keyboard
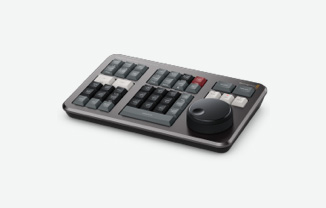
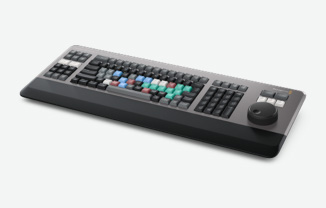
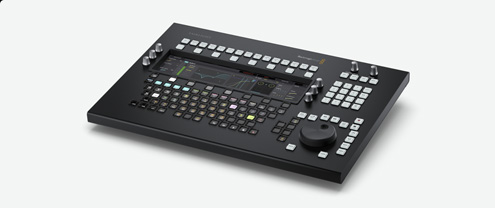
DaVinci Resolve keyboards have been designed as an alternative way to edit that’s much faster than a mouse because you can use both hands at the same time! The DaVinci Speed Editor features dedicated edit function keys on the left and a high quality search dial and transport controls on the right. You can use the search dial and source tape buttons with your right hand to locate shots, while simultaneously marking in and out points, performing edits and live trimming with your left hand. All without touching the mouse! The DaVinci Speed Editor is perfect for editors on the go, while the larger editor keyboard adds a full size extended keyboard with color coded shortcut keycaps.

DaVinci Resolve Speed Editor
DaVinci Resolve Editor Keyboard
