Audio Mixer LCD
The audio LCD shows level meters for each audio source or parameters when dynamics are selected. It will also show the soft knob and button functions.
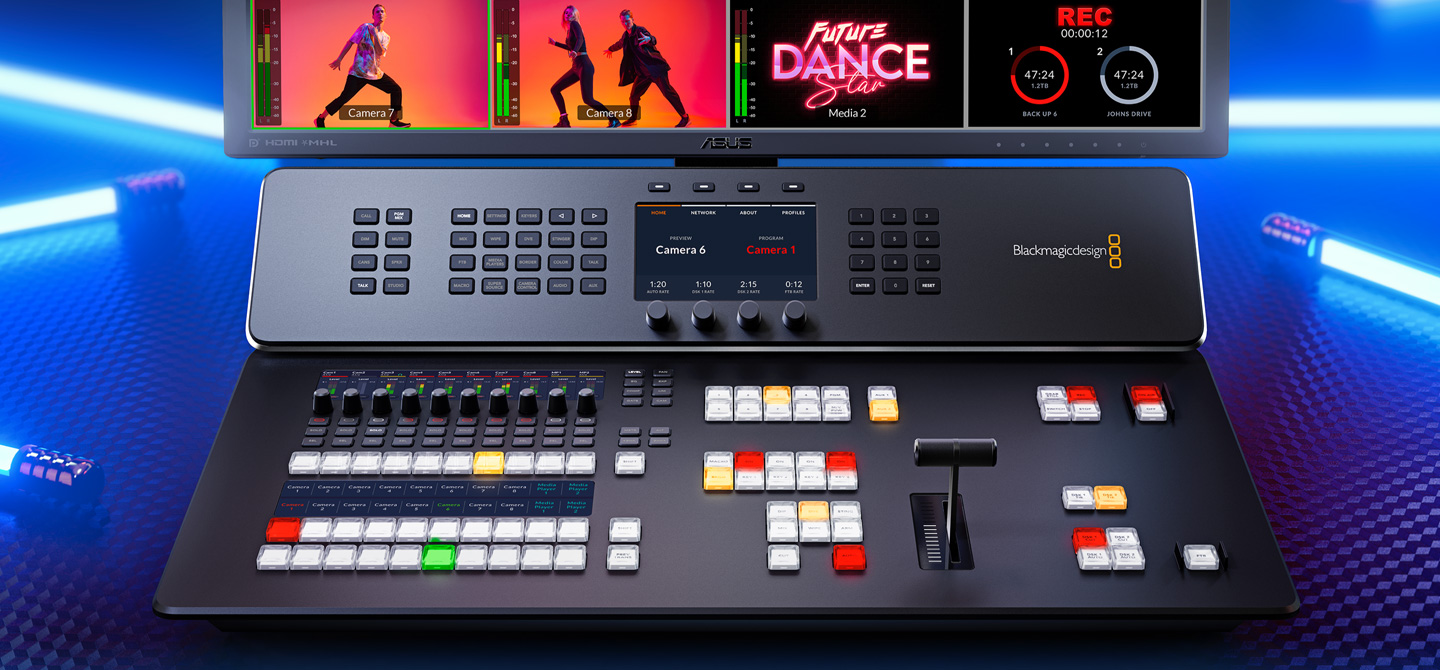
ATEM Television Studio is an extremely advanced design that includes an integrated broadcast standard control panel so it's very familiar and easy to learn. A well designed control panel is critical, because it’s the part of the switcher that you spend most of your time using! Plus because of the all in one design of ATEM Television Studio, it has features that are only possible when the switcher has all of its features integrated into the panel. Good examples are the integrated audio mixer control, the streaming and recording controls as well as the control room audio monitoring. There's simply no faster way to work than a professionally designed broadcast control panel.
Find Reseller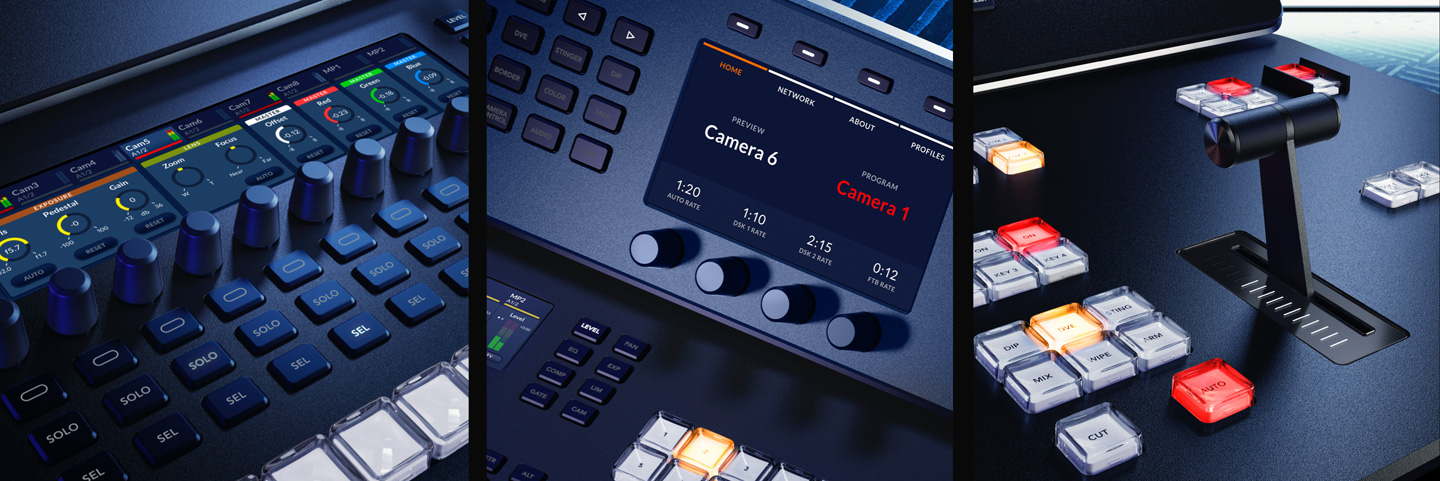
While ATEM Television Studio is an all in one design, its controls are familiar for any high end broadcaster. You get a true broadcast quality panel that's been proven as the fastest and most accurate way to work. It includes 3 x LCDs for labels, audio mixing and settings, high quality buttons and a t-bar fader for manually controlling transitions. The buttons have a dedicated LCD for labels, which also means you can press the shift key for an extra 10 alternative sources. The compact size and durable design of the ATEM Television Studio means that all of these features are extremely portable and the perfect solution for a new generation of small broadcast vans.
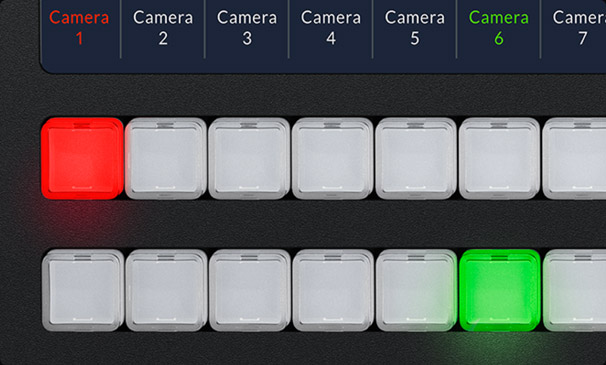
ATEM Television Studio has been designed to give you the most advanced live switching workflow. It has separate program and preview buses that you can use to quickly and accurately switch sources. This means you can see your preview bus selection by watching the preview on the multiview, or you can use one of the aux outputs set to output the preview full screen. Then all you need to do is make selections on the preview bus of the panel, which will appear on your preview screen, allowing you to see your source before it goes on air. Then you can bring the source online by pressing cut or auto! You can also switch sources on the program bus if you need them to go live immediately!
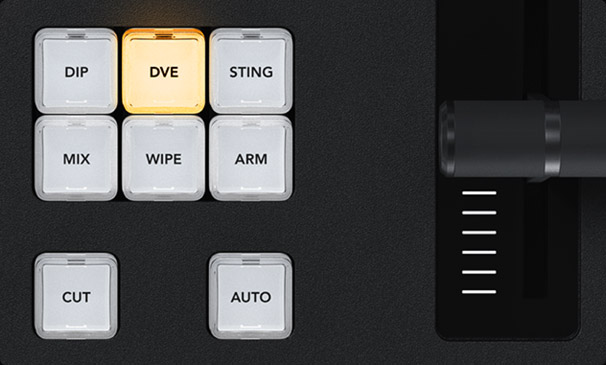
Get total control over your transitions with a dedicated hardware button for each transition type! When selecting transition types, the LCD screen will display the options for that transition, so you can change its parameters without navigating through complex menus. It's all instantly available! That gives you multiple ways to switch. Simply select a new source on the preview bus, then press CUT for a cut transition, or AUTO to use the selected transitions such as mix, dip, wipe or DVE! You can even cut directly on the program bus. With ATEM Television Studio you get all the controls you need to access all transition types fast.
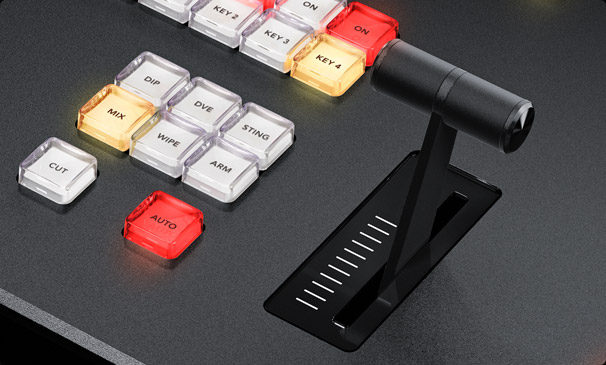
ATEM gives you a huge range of transition styles! Mix transition will smoothly blend between sources just like an NLE cross dissolve. Standard SMPTE wipes are included, and wipes can have edge softening for smooth dreamy transitions that are more exciting than simple cross dissolves. Dip transitions create a dip to color effect, however because you can dip to any video source, you could create really innovative effects! DVE transitions use the DVE to create crazy moves where the whole foreground image moves! Plus you can combine the DVE and a still image from the media pool to create graphic wipes! The t-bar fader even lets you manually position the transition for total control!

Power up your wipe transitions by accessing parameters to transform them into exciting effects. While you can select the wipe pattern directly on the LCD, you can also add lots of customization to suit your production style. You can adjust parameters such as symmetry and softness, but there are also adjustments for colored borders with variable width and softness, as well as the position of the centre of the wipe.

The ATEM Television Studio is perfect for positioning the DVE for custom picture in picture effects. You can also use the soft knobs and menus on the LCD to adjust the DVE position, size and other DVE features such as lighting and drop shadow effects. You can also set up the DVE to fly graphics into frame or select any of the pre programed push and squeeze transitions.
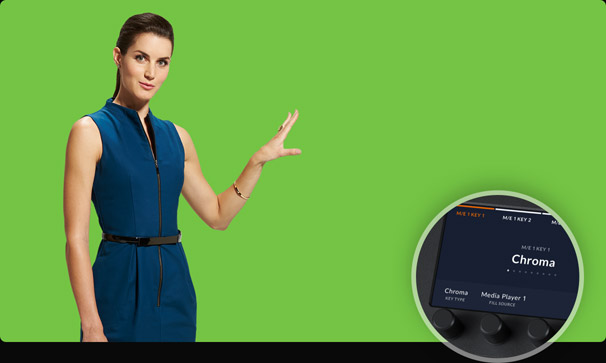
Hardware control is ideal when doing chroma keying because you can finely adjust the parameters for clean key edges so you get seamless multi layer compositing effects. Unlike software control where you need to look at the user interface, the ATEM Television Studio has control knobs that you can hold while adjusting key parameters and looking at the video output live to ensure the key is seamless. Only fine adjustment of key settings live while watching the video, ensures your key is perfect.
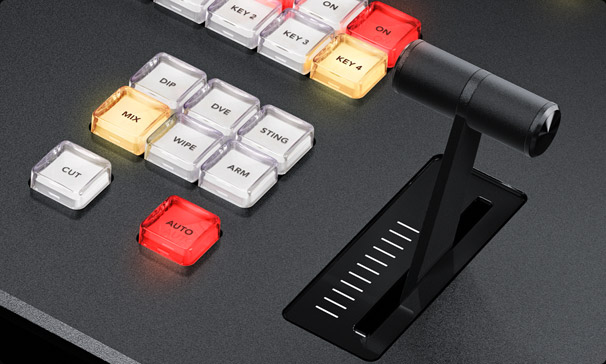
Amazing live performances often require transitions that need to be controlled manually. The ergonomically designed t-bar control lets you ride transitions perfectly as part of the live performance! Sometimes the emotion of a live event means you need to feel a transition to get it perfectly in sync with the camera operators and talent. Like a conductor, your ATEM Television Studio is part of the performance and drives the mood as the production unfolds.

To the left of the ATEM Television Studio fader bar is the auto transition button. Selecting auto will instantly perform the transition type you have set. This ensures you can accurately select your source and transition type before triggering the action, so you always know what is going to happen and there's much less chance of mistakes going to air. Auto transitions can be programed for durations from 1 to 500 frames and the benefit is each transition is consistent through your program.

To help you set up complex effects, the control panel includes a very useful preview transition button that lets you simulate a transition or effect before you use it! The PREV TRANS button helps you avoid on air mistakes when preparing live transitions by displaying the result on the preview view on multiview. Preview transition is the only way to accurately set up complicated transitions and multi layered key effects.

The built in fade to black button controls the entire output of the switcher! Selecting fade to black (FTB) will smoothly fade your program output to black at a preset transition rate. Because FTB is at the end of all processing, it ensures all video layers fade out together. You can even select to fade out audio when FTB is triggered. That's useful for the start and end of your production or for fading out to commercial breaks. FTB also includes button guards to stop accidental triggering!
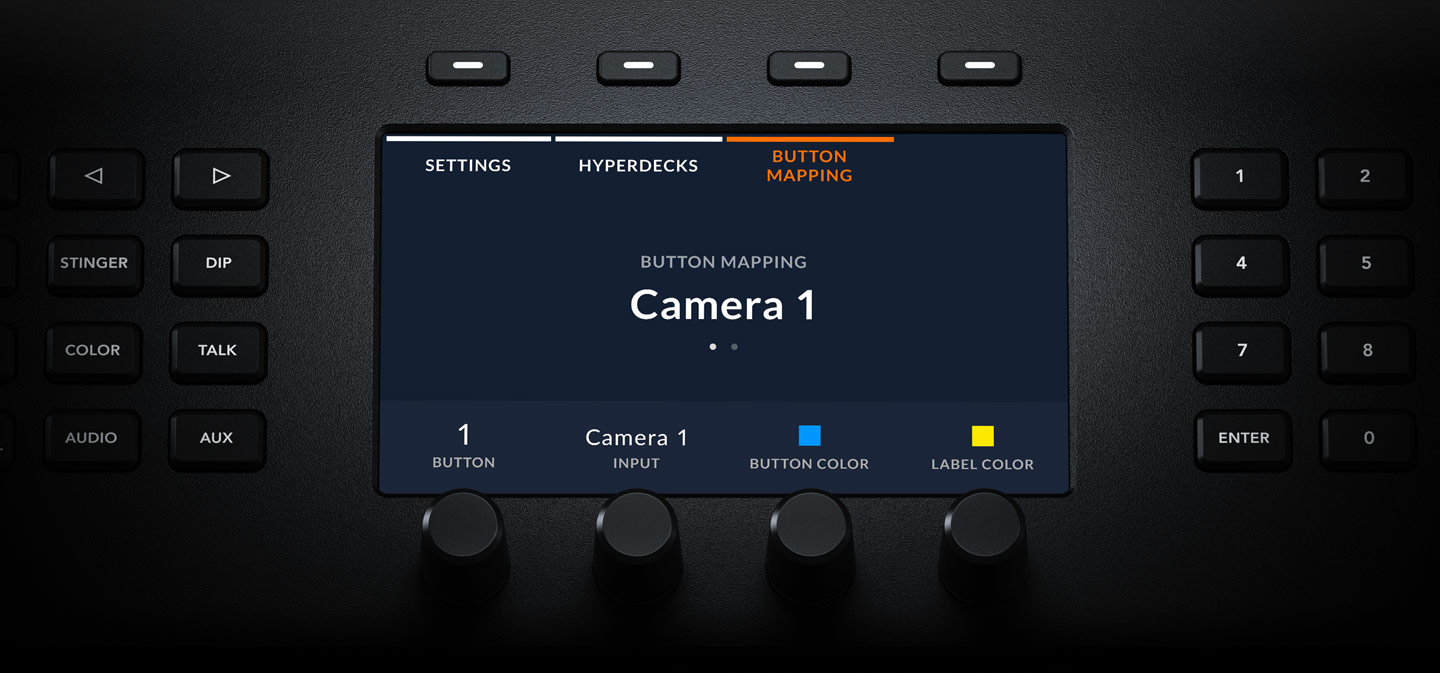
You get full control of all switcher settings right from the panel, plus the system control will auto select functions you need as you use different parts of the switcher. You get a large LCD for setting menus with soft keys and control knobs to help you make setting changes quickly. The menus are easy to navigate and are arranged in specific functions. You can adjust the switcher's video standard, video output settings, multiview layout and even remap panel buttons!
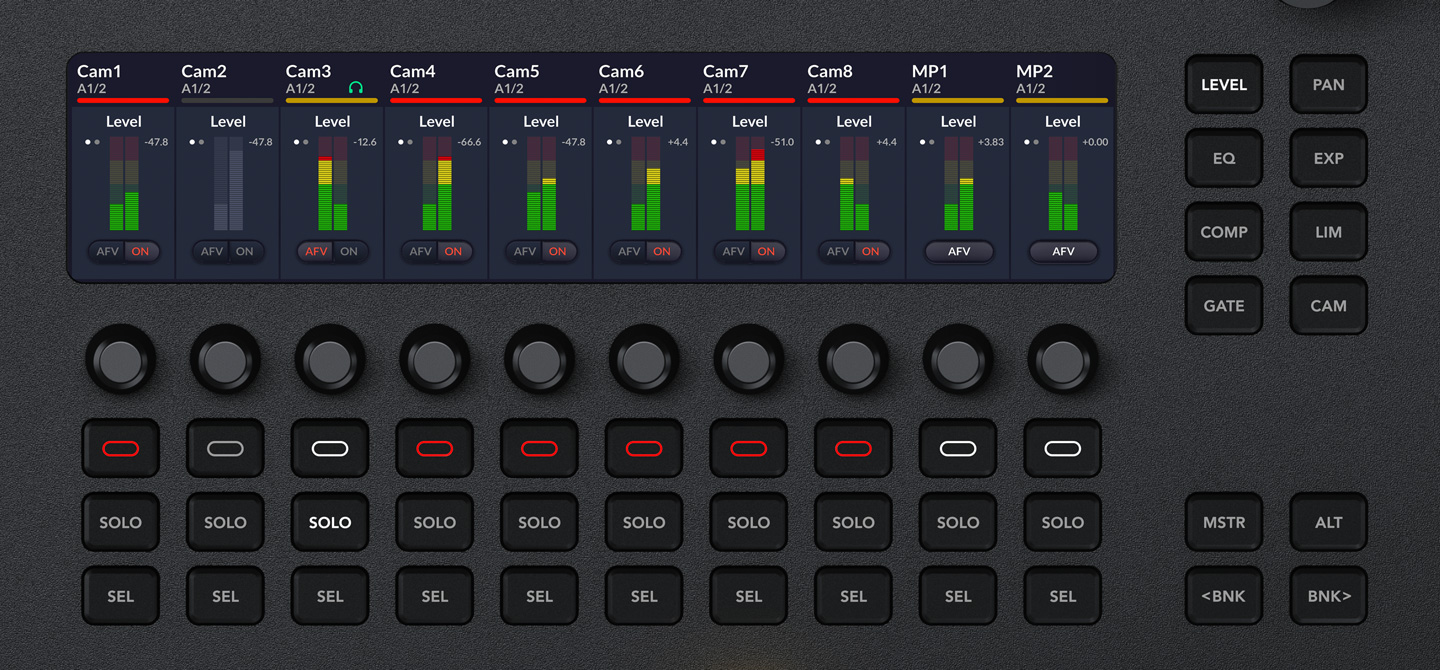
The audio mixer features a dedicated LCD for controls and level meters. The LCD is divided into audio inputs. That means each knob adjusts a separate audio level or pan control. The LCD will show you what input each knob and button will adjust. However on the right side, selecting dynamics functions will change the function of the knobs so they all work together. An example is EQ, where the SEL button sets which channel to adjust and each knob becomes a different frequency band for that single channel. You can even press EQ more than once for extra pages of controls. This is extremely powerful and it even works with camera control! Just press CAM and you get iris, gain, color tint and more!
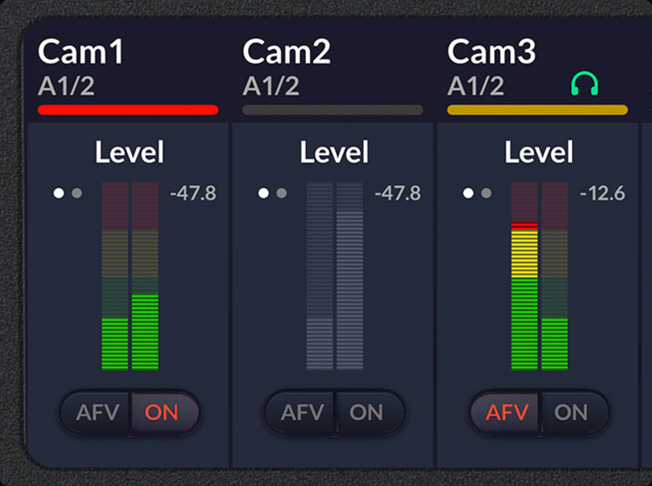
The audio LCD shows level meters for each audio source or parameters when dynamics are selected. It will also show the soft knob and button functions.
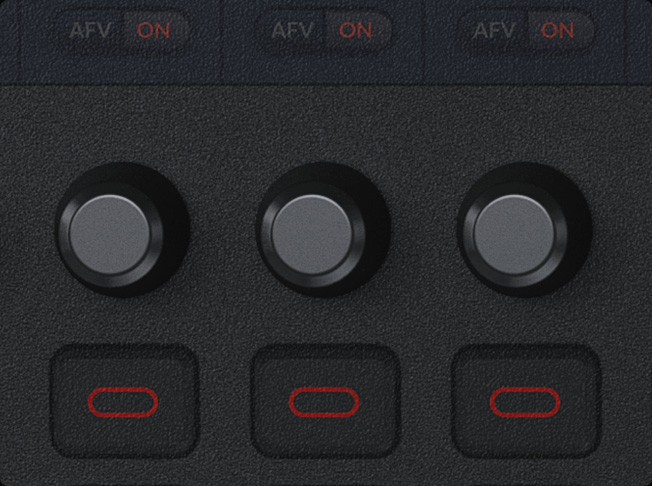
This knob is used to adjust the parameter that's displayed on the LCD above it. It can be used for simple level control or other processing functions.
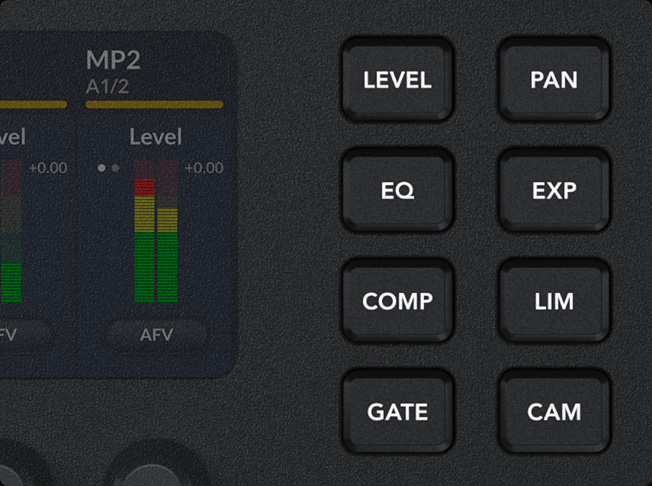
This is the main processing selection. You can select levels, pan, equalizer, compressor, limiter, noise gate, expander and even full camera control!
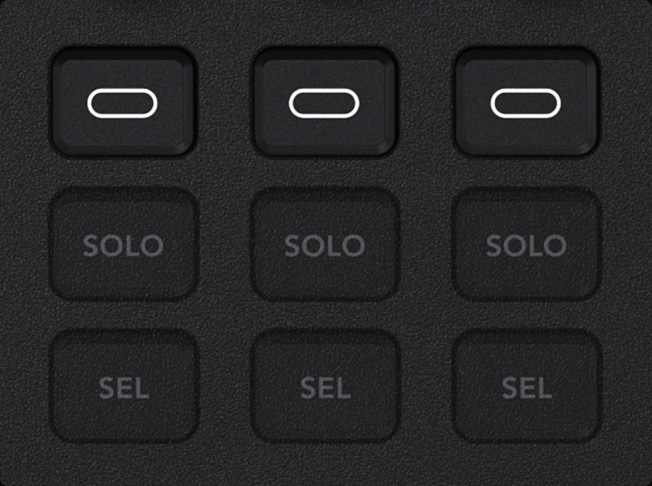
The soft button function is defined by the button icon along the lower edge of the LCD. Its function changes depending on the processing selected.
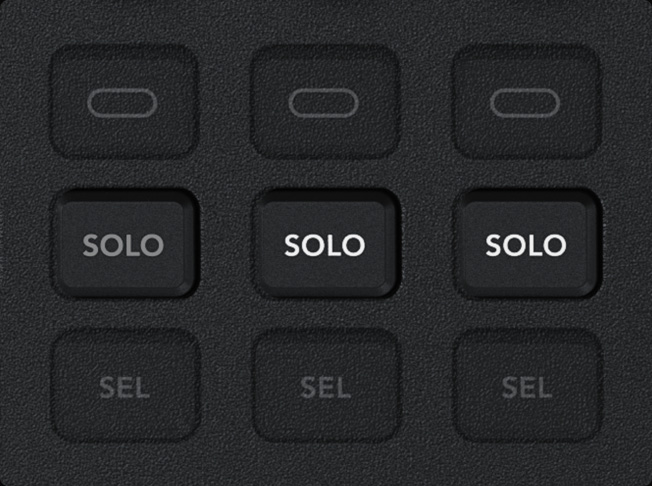
The solo button isolates a specific input so only it can be heard. It works with the control room monitoring when adjusting audio input processing.
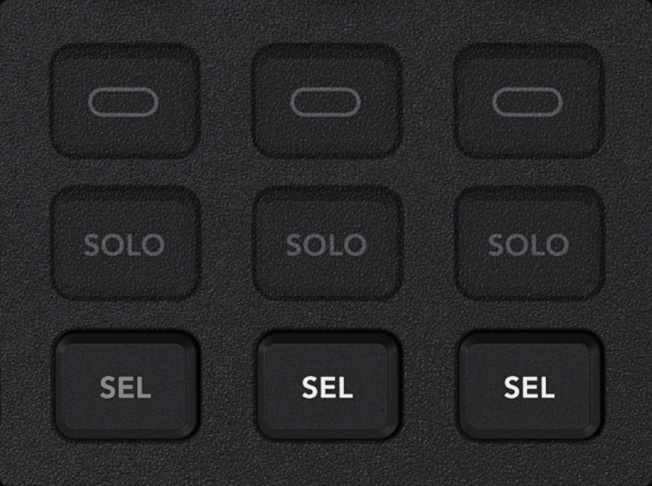
The select button selects which input is active when doing audio processing. To work faster, select will auto update when using the preview row.
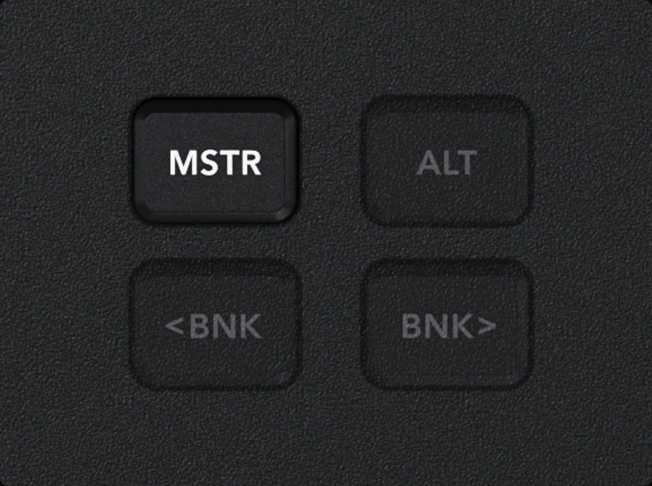
Pressing master will change the LCD to allow adjustment of the output levels for the program output, headphones, studio and control room monitoring.
Some processing has additional adjustments that won't fit on the LCD, so pressing alt will change some of the soft knobs to an alternative function.
Not all the audio inputs fit on the LCD at the same time. The bank buttons let you access all the audio inputs, RCA, XLR and MADI audio inputs.
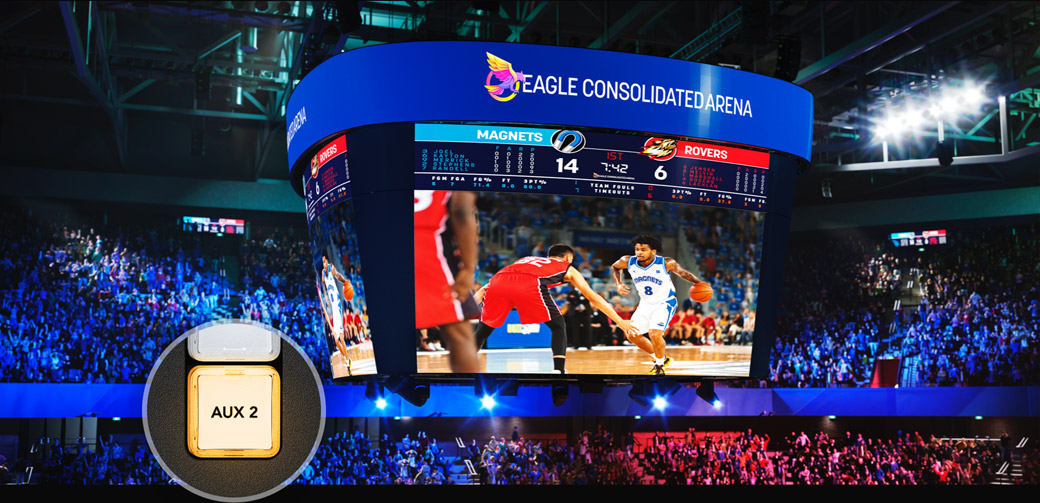
The ATEM Television Studio has dedicated aux buttons for live switching the aux outputs. Plus you can also use the select bus to switch aux outputs! Live cut bus style switching on the aux outputs is important when you have an aux output connected to monitors and video walls that can be seen by the audience. You can also use an aux output for control room monitoring using a button on the panel to change between the multiview or preview. This is helpful when you're using a smaller monitor and you need to quickly see the preview bus full screen for tasks such as checking camera focus. Then you can switch back to the multiview at the press of a button! It’s so fast!
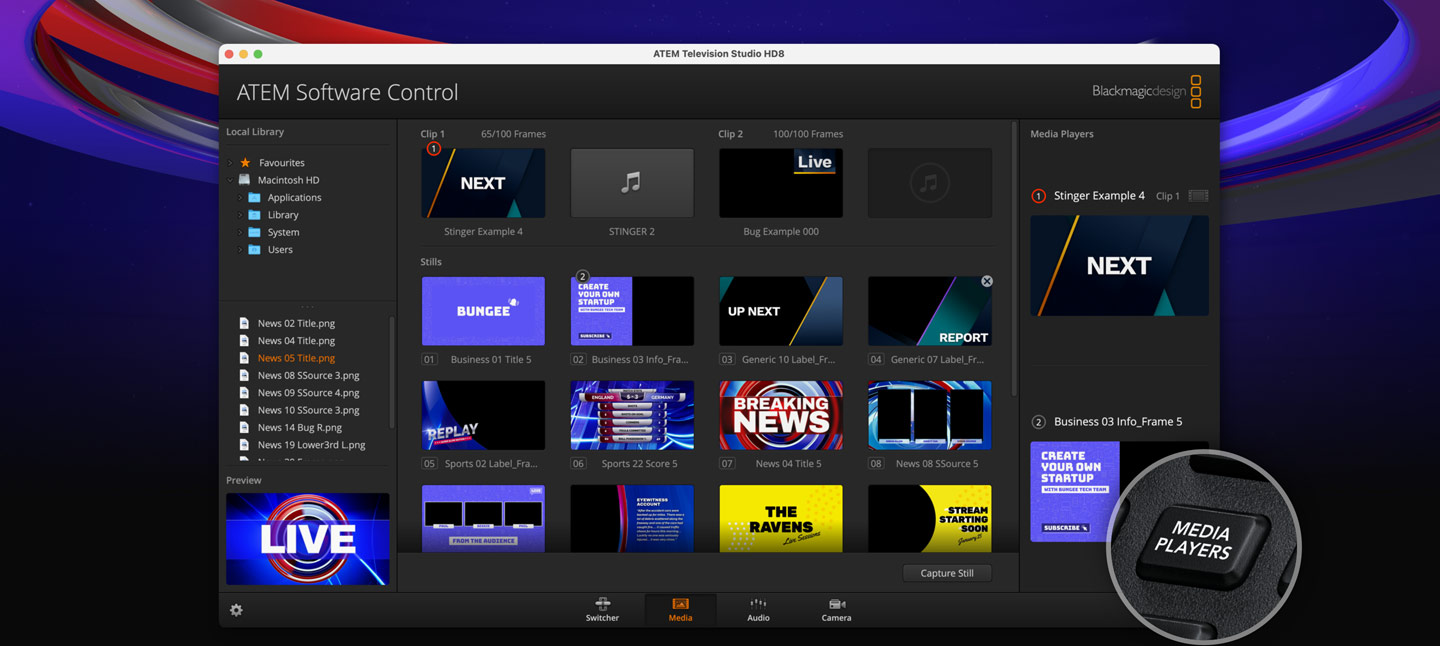
You can select stills from the media pool in the panel LCD menus and simply pressing the media button lets you access the media player and change which image in the media pool is sent to the media player as a video source. You can select any loaded still by scrolling through the list of media pool images, which are listed showing the original file name of each image. This means you can quickly change stills and titles right from the same ATEM you are working on, eliminating the need to change control panels just to change a title. Of course when you are using the keyers, you can use the select bus to change the key sources.
Download ATEM Graphics
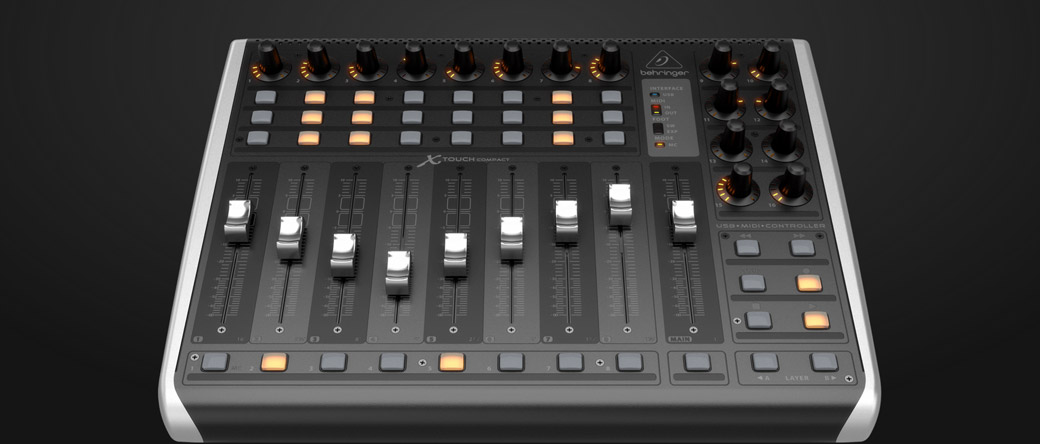
While there is great audio mixing built into the ATEM Television Studio, you can also use Mackie™ compatible USB control panels for live audio mixing! Simply connect a third party USB fader panel to your Mac or PC computer to get real time fader control of every audio channel. As you adjust levels on the panel the virtual software faders move in sync with you. You can even use the mouse to adjust levels on the ATEM Software Control page and the flying faders on the external panel will track your movement. An external fader panel is a fantastic compliment to the built in audio mixer as the external panel, ATEM Software Control and internal audio adjustments all work in parallel.
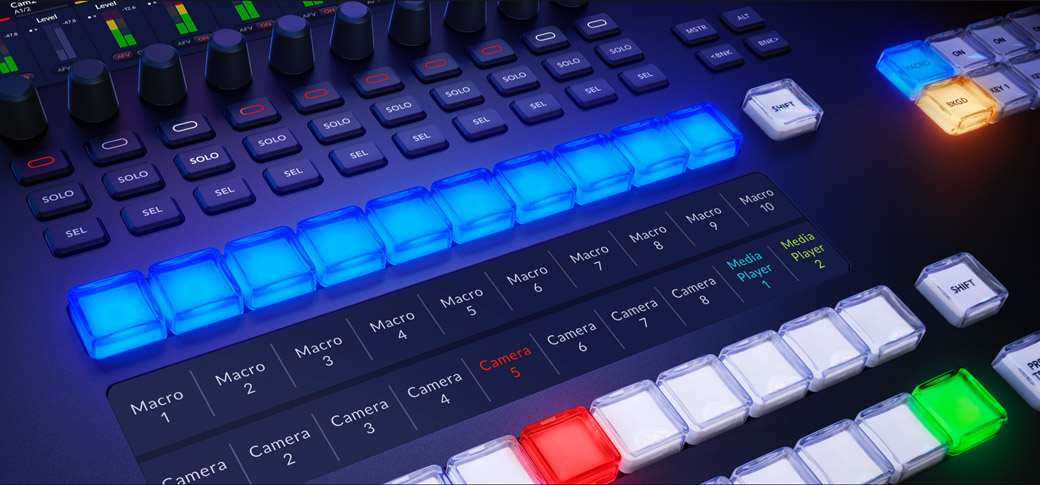
Triggering macros from the hardware panel is much faster because you can trigger macros with a single button press, and you can see the macro name on the LCD! This means that you don’t need to use a computer to work with macros because you can trigger them from the same hardware panel you are switching from. If you edit or modify a macro the change will appear on all connected hardware and software control panels because the macros are stored inside the ATEM Television Studio itself. There's a dedicated macro button that will show the macros on the select bus. The macro buttons turn blue when enabled, so you always know they are active. Then you just press the button to trigger them!
